-
Step 1: Match the exact model number before you look at anything else
-
Step 2: Check the installation site, not just the pump
-
Step 3: Count every small part in the kit — this is where the money leaks
-
Step 4: For submersibles, settle the foot valve question before the order goes out
-
Step 5: Price the order by total cost, not by line-item unit price
-
Step 6: Add a second pair of eyes 24 hours before shipment
-
Step 7: Keep a paper trail that doesn't depend on anyone's memory
-
Common mistakes to avoid
I've been handling pump and hardware orders for a mid-size distributor for 9 years. In that time I've personally approved about $14,000 worth of inventory that had to be written off — some of it wrong models, most of it missing the small parts that only get discovered when someone is already on-site with a wrench in their hand. I built this checklist for our team in 2023 after a bad quarter. It has 7 steps and it takes maybe 25 minutes to run through. It has saved us more than it cost us to build.
If you're a contractor, installer, or purchasing person ordering pumps, seals, circulation units, or bundled tool kits, this is for you. If you're dealing with a single household replacement, you probably don't need all 7 steps — steps 3 and 5 might be enough. I can only speak to B2B workflows with semi-predictable ordering patterns. Seasonal spikes or one-off rush jobs probably need extra layers I haven't built into this.
Step 1: Match the exact model number before you look at anything else
I learned this the hard way in 2018. I had a purchase order for "a circulation pump, similar to last one." I pulled the old PO, saw a CR-series part number, and shipped 12 of them. Turns out the customer had upgraded to a CRN 1-3 air cooled top pump system three months earlier and needed the matching datasheet-compliant variant. The two look almost identical on a shelf. They are not interchangeable in a chemical dosing loop.
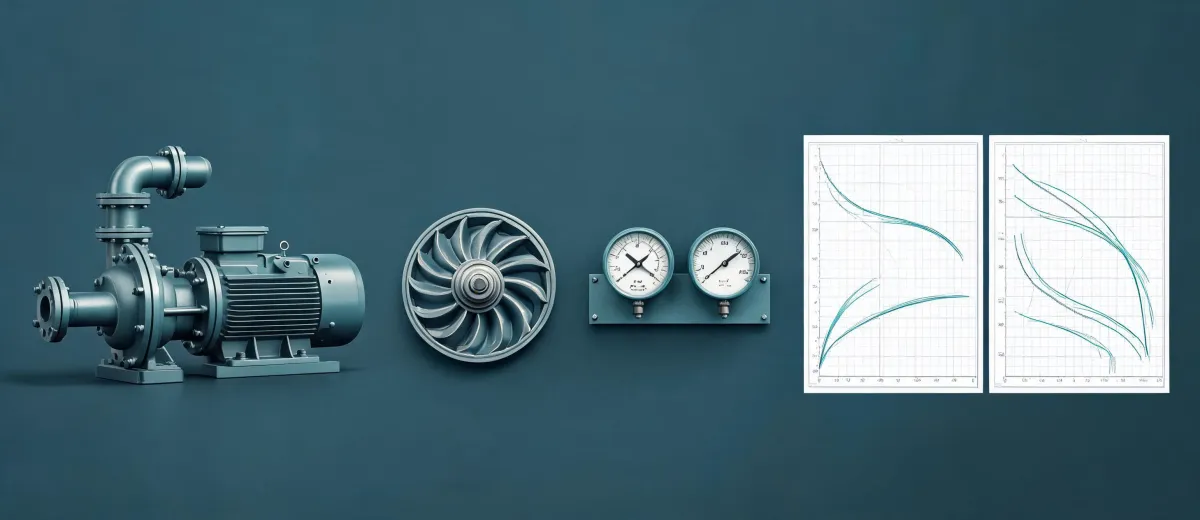
Now I do this: before I even open the catalog, I ask the requester for the exact model number off the old unit, or a photo of the nameplate. If neither exists, I pull the pump datasheet PDF from the manufacturer's site. For Grundfos specifically, the CRN 1-3 air cooled top pump datasheet includes the flow curve, NPSH value, flange rating, and temperature limits — all four of those should match the application before you commit. If any of them is unclear, stop. Don't guess.
Step 2: Check the installation site, not just the pump
Most circulation pump installation failures I've seen were not the pump's fault. They were plumbing faults. Wrong flange orientation. Missing isolation valves on the discharge side. Someone piped the suction line with a reducer that starved the inlet.
Walk through this before you order anything: what's the pipe diameter at the connection point? Is there a strainer upstream? Is there an air vent at the high point of the loop? Are the electrical connections matching the motor's nameplate voltage (not the building's rated voltage — the actual measured voltage at the panel)? I now require installers to send me a photo of the connection point with a tape measure in frame. It sounds fussy. It has prevented at least four wrong-flange shipments.
Step 3: Count every small part in the kit — this is where the money leaks
The pump is 40% of the order value and 90% of the attention. The remaining 60% of value — and 100% of the "why is this job stopped" phone calls — hides in the accessories.
For a standard circulation loop install you need: flange gaskets (both sides), coupling bolts, motor feet or base plate hardware, a check valve or isolation valve, and often a thermal insulation jacket if it's a hot-water loop. For submersible jobs, add the lifting cable, the discharge hose clamp, and a float switch if it's automatic.
If you're bundling tool kits into the same order — say, a nail gun and compressor kit for the trim-out phase of a construction job — the same principle applies. The compressor comes with a regulator, but the hose, the quick-connect fittings, and the moisture trap are almost always sold separately. I've watched a 12-minute install turn into a 3-day wait because the crew had the tools but not the fitting. Now I have a standing rule: every order over $2,000 gets a physical parts count sheet signed by two people before it ships.
Step 4: For submersibles, settle the foot valve question before the order goes out
"Does a submersible pump have a foot valve?" is one of the most common questions I get, and honestly, it's the right question to ask. But the answer isn't yes or no — it depends on what the pump already has built in.
Some submersible models ship with an integrated check valve at the discharge. Others do not, and for those you need a foot valve or an in-line check valve in the riser pipe to prevent backflow when the pump cycles off. Adding a foot valve to a pump that already has a check valve increases suction loss and can cause short-cycling. Not adding one to a pump without a check valve means the water column drains back every cycle — which is hard on the pump and terrible for pressure consistency.
My rule: read the spec sheet, find the section on "discharge arrangement" or "check valve," and write the answer on the PO. If the datasheet doesn't say, email the manufacturer's tech line. Don't let the installer decide on-site. That decision should be made at the desk.
Step 5: Price the order by total cost, not by line-item unit price
In 2021 I switched a seal supplier to save 12% on unit price. Six months later we tallied up the actual delta: the new supplier shipped from further away (higher freight), didn't include installation data (my team spent ~14 hours reverse-engineering specs), and had a higher defect rate on one SKU. All told, we spent about 23% more over the year than we would have with the original supplier. That was the quarter I stopped making purchase decisions on unit price alone.
Now I run every order over $1,500 through a simple TCO sheet: unit cost + freight + duty + expected install labor + estimated rework probability × rework cost + downtime risk. It usually takes 10 minutes. It has changed my decision on roughly one order in five. The cheapest quote is often not the cheapest order — it just shifts cost somewhere you don't see on the invoice.
Step 6: Add a second pair of eyes 24 hours before shipment
This is a step almost nobody does, and it's the one that catches the most errors. Our rule: any order over $3,000 requires a second person to independently verify the model number, quantity, revision level, and accessory count — at least 24 hours before the shipment date. Not the same day. Not "when there's time." Twenty-four hours ahead, on paper.
In the past 18 months, this step has caught 11 errors. Eight were minor — wrong accessory count, missing gasket. Three were serious: two wrong motor voltages, one wrong flange standard on an export order. The cost of running the check is about 20 minutes of one person's time. The cost of not running it is the entire rework chain plus the credibility hit with the customer.
I should add that we built this check after a 2022 incident where we shipped 40 pumps with the wrong mounting bases. The bases were $60 each. The shipping both ways was $1,900. The customer's rescheduled install was the part that hurt — they'd booked their crew for a Tuesday and we didn't catch it until Monday afternoon.
Step 7: Keep a paper trail that doesn't depend on anyone's memory
Every order gets three documents attached to it: the confirmed PO with model numbers written out in full (no abbreviations), the spec sheet PDF for each pump in the order, and the parts count sheet with two signatures. These get scanned and stored under the customer's file, not the salesperson's folder.
The reason: when a job goes wrong six months later, no one remembers what they said on the call. The documents either confirm what was ordered or they don't. We've resolved three warranty disputes in the last year just by pulling that file. It's not glamorous work, but it's the difference between a 10-minute answer and a week of he-said-she-said.
Common mistakes to avoid
- Trusting the old PO. Specifications change, especially on multi-year contracts. Verify every time.
- Assuming the installer has everything. They almost never do. Count the parts yourself.
- Choosing the cheapest quote without a TCO sheet. The hidden costs always show up, just later.
- Skipping the second-person check on small orders. Small orders with wrong specs still stop jobs.
- Relying on memory for foot valve or check valve decisions. Write it down on the PO.
That's the whole thing. It's not clever — it's just the checklist I wish someone had handed me in 2017 before I learned all of it the expensive way. Adapt it to your own order sizes and your own rework costs. Your mileage may vary if your supplier relationships are more integrated than ours, or if you're working with custom-built skids where spec changes happen weekly. In that case, steps 1 and 6 carry most of the weight, and the rest is just good hygiene.