-
Who Should Use This Checklist
-
The 7-Step Quality Checklist
-
Step 1. Match the model number to the physical nameplate
-
Step 2. Verify the pump curve against the actual duty point
-
Step 3. Check all mounting and flange hardware before installation
-
Step 4. Clean the pump exterior before opening it—but clean it smart
-
Step 5. Use the right grinding wheel if stainless surfaces need work
-
Step 6. Test the controller settings before final acceptance
-
Step 7. Document the verification, even when everything passes
-
Step 1. Match the model number to the physical nameplate
-
Limitations: When This Checklist Isn't Enough
-
Bottom Line
If you're about to accept a Grundfos pump shipment or install a pump package, you don't need a lecture. You need a list. This one was built for the way I review equipment before it goes to a job site: check the labels, check the hardware, check for the things that cause callbacks.
I'm a quality/compliance manager at a pump and hardware supply company. I review roughly 2,400 line items a year. In 2025, I rejected about 7% of first deliveries—not because the pumps leaked or the boxes were damaged, but because the details were wrong: incorrect packing lists, missing manual language, wrong mounting hardware, and a few cases of documentation that didn't match the serial number. This is the checklist I use.
Who Should Use This Checklist
Use this if you're receiving, installing, or maintaining:
- Grundfos Alpha 15-55 HWR-D high-efficiency pump and similar circulators
- Grundfos CMBE 3-51 booster pump 98810924 and other constant-pressure booster sets
- Related flanges, valves, and fasteners—especially when the spec calls for a serrated flange nut grade 5 3/8-16
If you're working on a custom package or a job covered by local code requirements, don't stop at this list. More on that at the end.
The 7-Step Quality Checklist
Step 1. Match the model number to the physical nameplate
Start with the easiest mistake to avoid: the box might say Grundfos Alpha 15-55 HWR-D while the pump inside is a standard 15-55. The label on the pump is final. Check the serial number too. For the CMBE 3-51 booster pump 98810924, the part number is on the packing slip, but confirm the controller version on the nameplate as well. I've seen a wrong suffix cause a compatibility issue with a building automation system—nothing in the pump itself was wrong, but the order did not meet the spec. That's a rejection.
Step 2. Verify the pump curve against the actual duty point
This is the step most people ignore because they think pump curves are the manufacturer's problem. In my experience, it's the specifier's problem first.
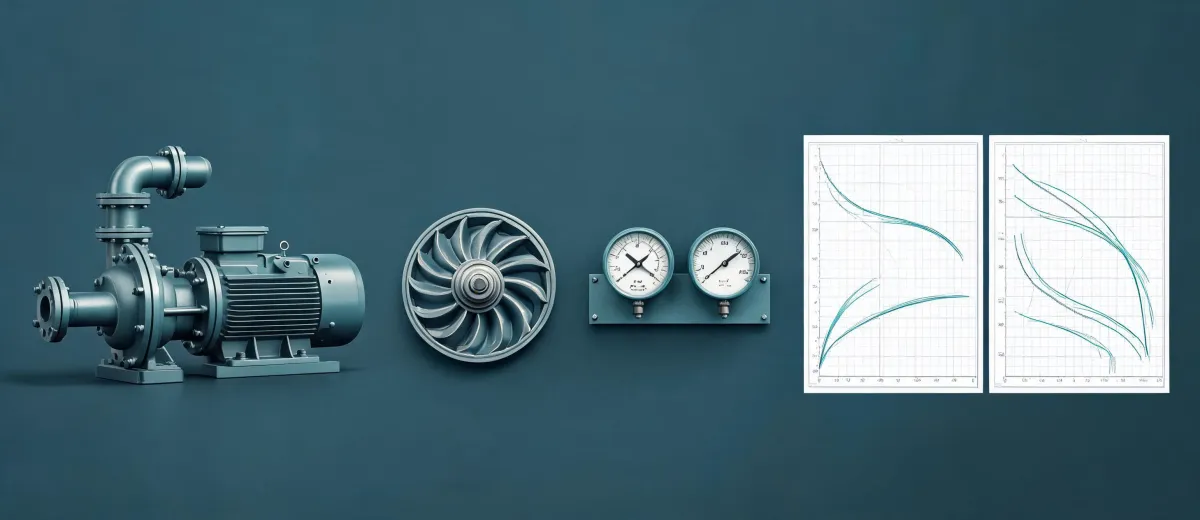
According to Grundfos product documentation (product-selection.grundfos.com), the performance curve shows the operating envelope for each pump model. If a Grundfos Alpha 15-55 HWR-D is chosen for a duty point that is outside that envelope, the pump will hunt or run outside its efficient range. For a CMBE 3-51, the duty point is affected by the pressure sensor setting, not just the pump hydraulics. Plot your expected flow and head before you accept the unit, and keep that curve in your project file.
Step 3. Check all mounting and flange hardware before installation
Fasteners are the most underrated part of a pump package. If your spec says serrated flange nut grade 5 3/8-16 (3/8-inch diameter, 16 threads per inch), don't accept a bag of plain hex nuts with split lock washers. Serrated flange nuts have a serrated bearing face that grips the joint and resists vibration better than a standard nut with a separate lock washer.
The trigger for me was a flange bolt that walked loose in a commercial heating system less than a year after install. The pump was fine. The nut was the problem. A 3/8-16 grade 5 serrated flange nut costs a little more than the wrong one. Replacing the joint after a leak costs a lot more. If you're reusing existing flange nuts, inspect the serrations—if the bearing face is smooth or polished, replace it.
Step 4. Clean the pump exterior before opening it—but clean it smart
External grime hides leaks and makes it harder to spot corrosion. A pressure washer like the RE 130 Plus pressure washer is a good option for cleaning pump baseplates and flanges, especially before a repair or inspection.
But honestly, I've seen more damage from cleaning than from the original grime. If you spray the terminal box, the shaft seal area, or the controller on a CMBE 3-51, you're introducing water where it shouldn't be. Use low pressure and a wide spray pattern near electrical components. Better yet, wipe the seal area by hand. The goal is to reveal problems, not create them.
Step 5. Use the right grinding wheel if stainless surfaces need work
If you've ever asked 'what type of grinding wheel is best for stainless steel?'—the short answer is basically this: use a wheel designed for stainless and dedicated to stainless work. Many generic gray wheels are made for mild steel and run too hot on stainless. That heat can cause discoloration and reduce corrosion resistance.
Look for wheels labeled for stainless or INOX. A common choice is a premium aluminum oxide wheel, or a ceramic alumina wheel for heavier stock removal. The best wheel for your job depends on whether you're removing weld spatter, shaping a bracket, or blending a finish. A coarse grit removes material fast; a medium or fine grit leaves a cleaner surface. According to Norton Abrasives (nortonabrasives.com), using a wheel previously used on carbon steel can embed steel particles into stainless, and those particles can rust later. (I really should print this and hang it above the bench.)
Step 6. Test the controller settings before final acceptance
For a Grundfos Alpha 15-55 HWR-D, check the operating mode and differential pressure setting. The right setting depends on the piping layout and whether you're working with zone valves or thermostatic radiator valves. For a CMBE 3-51, the setpoint pressure is normally adjusted at the controller. If the setpoint doesn't match the system demand, you'll get short cycling or low pressure at the furthest fixture. The pump may be mechanically fine, but the system will feel wrong.
I always start with Grundfos's recommended settings in the installation manual, not with what the previous contractor used. Do not assume old settings apply to a new pump. In Q1 2024, we saw a booster set shipped with the previous project's setpoint. The pump itself was good; the setting was wrong.
Step 7. Document the verification, even when everything passes
If there's one habit that saves me the most time, it's writing the results down. I say I'll send the checklist later, but a verbal looks good is useless if there's a warranty dispute or a callback in six months.
For each pump package, we record:
- Model number and serial number
- Duty point checked against the curve
- Hardware verification, including size, grade, and type of flange nuts
- Controller settings or setpoint
- Photos of the nameplate and the pump condition
That one-page record is not just for the customer. It protects us too. In 2024, a missing paper record cost us a $22,000 redo because the customer claimed the pump arrived with the wrong flange configuration. The pump was already installed, but without a dated photo, we couldn't prove it either way. Now every accepted pump has a photo in the file.
Limitations: When This Checklist Isn't Enough
There's no single best pump for every job. The Grundfos Alpha 15-55 HWR-D is a high-efficiency circulator that fits certain heating loops well. The CMBE 3-51 booster pump 98810924 is a solid option if your flow and pressure requirements are within its curve. If they aren't, no pump can fix that.
This checklist is also not a substitute for an engineer's review. If you're dealing with glycol concentrations above 50%, high-temperature water over 200°F, or a system that needs a code-specific safety factor, you need someone who owns that responsibility. A generic checklist can catch the 80% case; it won't catch every edge case.
And if you're using non-original repair parts or local machine shop hardware, I'm not here to tell you those are always wrong. But if the pump is still under warranty, confirm with Grundfos first. A warranty decision is not something a quality checklist can override.
Bottom Line
Most pump callbacks aren't caused by the pump. They're caused by the details: wrong hardware, wrong setpoint, contaminated grinding wheel, or a missing document. Walk through this list before you sign off, and you'll save yourself a lot of expensive the pump is fine conversations.