-
One Submersible Job Changed How I Treat Grundfos Pump Settings
-
An Old Jigsaw Taught Me to Run a 60-Second Tool Check
-
Timbertite Landscape Screws Taught Me That Fasteners Are Specs, Not an Afterthought
-
Where to Place Kitchen Cabinet Hardware Is a Layout Decision, Not a Guess
-
What If You Do Not Have Five Extra Minutes?
I'll say it as bluntly as I can. Most callbacks are not caused by bad parts. They are caused by checks that seemed unnecessary at the time. A pressure setting that didn't get verified. A tool handled as if it could not be out of adjustment. A screw chosen by price instead of environment. A drill hole made before the layout was measured. I have been on the install and repair side of a regional Grundfos dealer and hardware supplier since 2015. I have personally made and documented 31 avoidable mistakes, totaling roughly $9,400 in rework. I keep a checklist now, and new techs get the same list on their first day.
Prevention is not the slower route. It is the only route that lets you do fast, clean work without lying to yourself about being done.
I know that sounds like a motivational poster. Let me make it specific.
One Submersible Job Changed How I Treat Grundfos Pump Settings
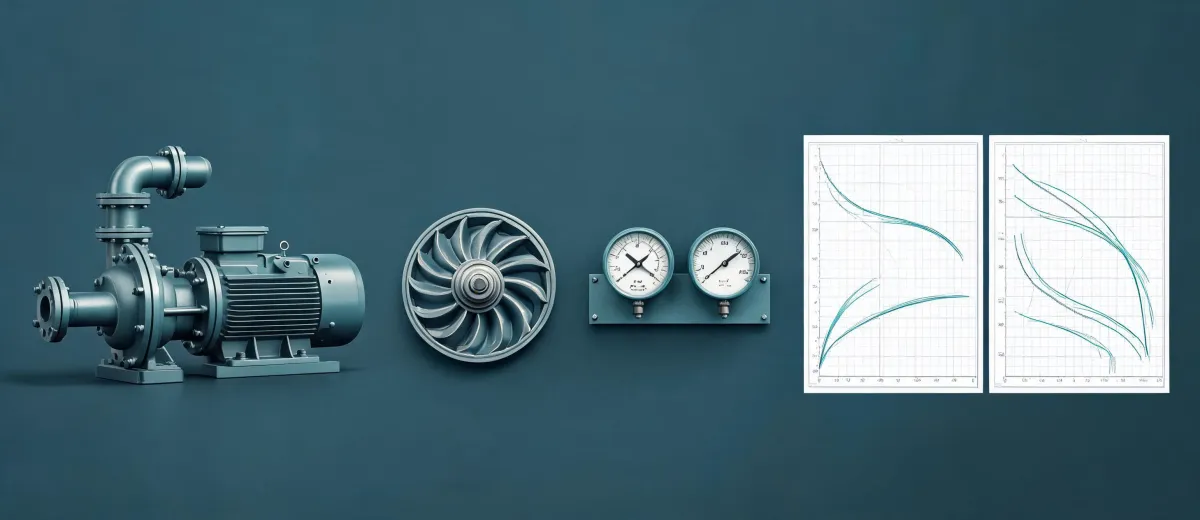
The trigger event happened in September 2022. A customer's well pump had stopped. I drove out, found the old 4-inch submersible motor had given up, and replaced it with a Grundfos 1 hp submersible well pump. I wired the new pump, opened a valve, watched the pressure gauge climb, and packed up. The job went so smoothly that I did not open the installation and operating instructions to confirm the system setup before leaving. That was the mistake.
Eleven days later I got a 6:40 a.m. voicemail. I could hear the pump behind the customer's voice: starting, stopping, starting again. Short-cycling. When I arrived, there were no leaks and no wiring issues. The pump itself was fine. I drained the pressure tank, put a gauge on the air side, and found the tank charge at about 9 psi. With a 30/50 pressure switch, the tank should be set near 28 psi. The tank had too little stored air, so the pump was waking up every few seconds instead of letting the tank do its job.
The fix took about thirteen minutes with a compressor. But the damage to my credibility took much longer to repair. I had treated the pressure tank as not my problem because I was focused on the shiny new pump. The truth is that a pump is part of a system, and the system settings are part of the job. On a basic submersible setup, the settings that matter live in the pressure switch cut-in and cut-out, the tank pre-charge, and the control box. On newer electronic pumps, there are even more settings in the controller. Every one of them needs to be checked before first start-up. The Grundfos instructions for the model include that startup section for a reason.
That mistake cost me a half-day, a chunk of trust, and a long uncomfortable conversation with a customer who had every right to be annoyed. It also cost me the excuse I used to give myself: that I had done enough of these to skip the boring part.
An Old Jigsaw Taught Me to Run a 60-Second Tool Check
It is easy to file a pump story under technical stuff and move on. So here is a hand-tool version.
In 2024 I needed a clean opening in a sheet of 3/4-inch plywood for an access panel. Instead of walking to the other side of the shop, I grabbed the old jigsaw hanging behind the door. It had been there for years, and I assumed it would be fine for a rough cut. It was not. The cut wandered almost 3/8 inch because the sole plate had been knocked out of square at some point. I noticed the cut starting to drift and kept pushing anyway, which made it worse. A $42 sheet of plywood went in the scrap pile, and I spent 45 minutes making a second trip for replacement material.
An old jigsaw can be a perfectly good tool. But before using one, you need to run it unloaded, listen for odd noises, confirm the blade is square to the sole plate, and make sure the blade matches the material. That is a 60-second check. The saw had probably been cutting crooked for months, and every person who used it had blamed the blade.
There is even a regulatory anchor for this. OSHA 29 CFR 1910.242(a) says hand and portable power tools have to be maintained in safe condition. A saw with a bent sole plate is not just inaccurate; it is unsafe, because you start fighting the tool to make it do what it cannot do. What I thought was saving time by grabbing the closest saw ended up costing more time than a full tool inspection would have taken.
Timbertite Landscape Screws Taught Me That Fasteners Are Specs, Not an Afterthought
The same pattern shows up in the least glamorous place on a job site: the fastener box.
In spring 2024 I built a row of raised planters on the side of our shop. The lumber was pressure-treated and rated for ground contact. I grabbed a value box of coated screws that happened to be sitting near the workbench because it was convenient. It was not the right fastener for that material and that moisture exposure. I saved maybe $24 at the checkout moment.
About fourteen months later, every third screw head was showing rust, and a few had popped far enough to lift the board they were holding. The boards were fine. The fasteners were the weak link. I had to pull the planters apart, replace the damaged lumber in two spots, and put everything back together with the right ground-contact rated screws from the Timbertite landscape line. Roughly speaking, that small convenience cost about $350 in replacement material and two weekend afternoons.
Fasteners are not an afterthought. They are a mechanical specification. By the time you can see corrosion on a screw, the inspection window is long gone, and the only fix is disassembly. The Timbertite landscape screws are not magic. They are rated for the job, which is exactly the point. The packaging tells you what the fastener is designed for, but that only helps if you read it before you build, not after you pull the planter apart.
Where to Place Kitchen Cabinet Hardware Is a Layout Decision, Not a Guess
Then there is the job that looks purely aesthetic: where to place kitchen cabinet hardware.
In March 2024 I renovated the break room kitchen in our own building. I drilled the cabinet handles in places that felt right at the moment. Every handle worked. Every handle looked acceptable on its own. But the row looked off, and two pulls grazed a drawer when opened. I had to fill the holes, sand, repaint, and drill again. It was exactly the kind of mistake I should have caught with a tape measure and a piece of painter's tape.
For anyone asking where to place kitchen cabinet hardware, here is the simple system I use now. Put the hardware on the free edge of the door, opposite the hinges. On upper cabinet doors, mount the pull or knob toward the lower part of the door. On base cabinet doors, mount it toward the upper part of the door, because that is where a hand naturally arrives. On drawer fronts, center the pull on the drawer front, and keep the centers of adjacent pulls in a consistent line rather than aligning their bottom edges. That is not the only design philosophy in the world, but it is a deliberate one, and deliberate always looks better than random.
To be fair, cabinet hardware placement also follows style, and there is no single number that works in every kitchen. But the difference between deliberate and accidental is that deliberate follows one consistent reference. On accessible jobs, I also check the reach-range guidance in the ADA 2010 Standards, section 308. That guidance treats ergonomics as a requirement, not a taste preference. If I can plan a pump start-up sequence from a manual, I can plan a row of drawer pulls from a centerline.
What If You Do Not Have Five Extra Minutes?
I can already hear the objection: you cannot check everything, and some days the schedule does not allow it. Fair enough. There is such a thing as overchecking, and I do not inspect a hammer every time I pick it up.
But look at the failures I listed. Every one of them happened at an irreversible step. You cannot un-sand a cabinet that already has holes in it. You cannot un-rust a screw that failed inside a pressure-treated planter. You cannot un-short-cycle a pump that has already run all night. The cost of checking is measured in seconds, but the cost of not checking is measured in callbacks, scrap plywood, and angry voicemails.
Since I stopped trusting memory and started using a pre-start list, our team has caught 47 potential field errors in the past 18 months. None of those catches required a engineering degree. They required reading the label on the tank, looking at the sole plate of the saw, checking the fastener rating, and measuring the cabinet hardware centers before drilling.
Bottom line: I am not a naturally careful person. I made these mistakes because I thought careful people were slow. Now I know the opposite is true. If the settings on a Grundfos 1 hp submersible well pump are worth checking once, the screw, the saw, and the seventeen cabinet holes are worth checking too. Checking now or spending later, those are the only two choices. I have tried both, and checking first is cheaper.
I wrote this in early 2026. Pump product lines and local code requirements change, so verify against the current installation manual for your actual model before adjusting any cut-in pressure or tank charge. The habit matters more than the specific number.